How to Test a Car Battery’s Charging System?
Today we discuss How to Test a Car Battery’s Charging System. Are you wondering how to test your car battery’s charging system? Well, you’ve come to the right place! In this article, we’ll walk you through the step-by-step process of testing your car battery’s charging system.
By following these simple instructions, you’ll be able to diagnose any potential issues and ensure that your battery is operating at its best. So, let’s get started and learn how to test a car battery’s charging system efficiently and effectively.
How to Test a Car Battery’s Charging System?
A reliable car battery charging system is essential for the proper functioning of your vehicle. If you’re experiencing battery-related issues or suspect there might be a problem with your car’s charging system, it’s important to test it to ensure it’s functioning optimally. In this article, we’ll guide you through the process of testing a car battery’s charging system so that you can identify any potential issues and address them accordingly.
1. Safety Precautions:
Before diving into testing the car battery’s charging system, it’s crucial to take some safety precautions to avoid any accidents or mishaps. Make sure you follow these steps:
– Park your vehicle in a safe and well-ventilated area away from any flammable materials.
– Turn off the engine and remove the key from the ignition.
– Wear protective gloves and eye goggles to shield yourself from any contact with battery acid or other harmful substances.
– Familiarize yourself with the basic components of the charging system, including the battery, alternator, and voltage regulator.
2. Visual Inspection:
Before conducting any tests, visually inspect the battery and charging system components. Look for any signs of damage, corrosion, loose connections, or frayed wires. Pay attention to:
– Battery terminals: Ensure they are clean, tight, and free from corrosion.
– Alternator belt: Check for proper tension and signs of wear.
– Wires and connectors: Inspect for any signs of damage, loose connections, or exposed wires.
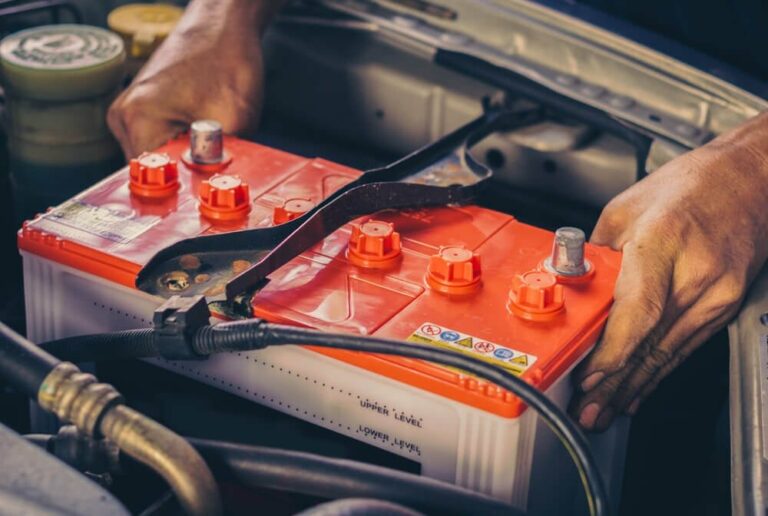
– Battery casing: Look for any bulges, cracks, or leaks.
3. Testing the Battery Voltage:
To begin testing the car battery’s charging system, you’ll need a multimeter, a device that measures electrical voltage, among other things. Here’s how to test the battery voltage:
– Set your multimeter to the DC voltage range and ensure it’s set to a scale that can accommodate the expected battery voltage (usually 0-20V).
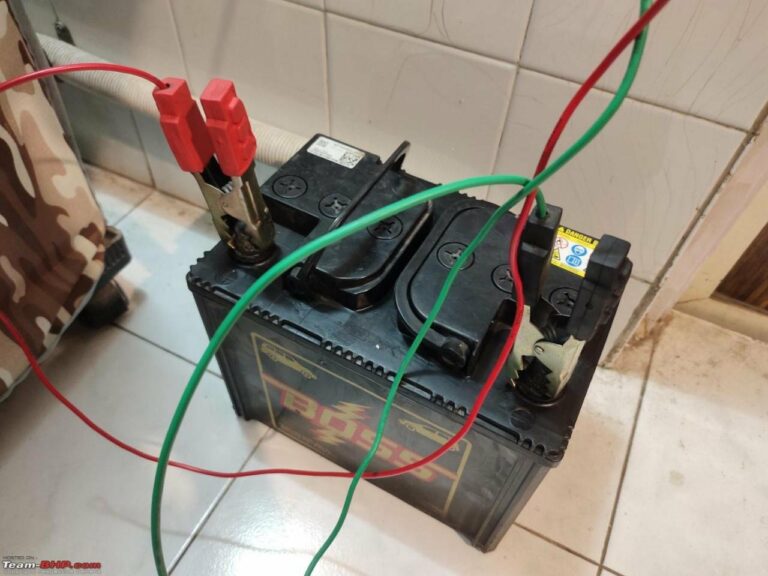
– Connect the multimeter’s positive (red) probe to the positive terminal on the battery and the negative (black) probe to the negative terminal.
– Read the voltage displayed on the multimeter. A fully charged battery should read around 12.6 volts or slightly higher.
– If the voltage is significantly below 12.6 volts, it might indicate a weak or discharged battery that needs to be charged.
4. Testing the Charging System:
After checking the battery voltage, it’s time to move on to testing the charging system components. The main components include the alternator and voltage regulator. Here are the steps to follow:
– Start the engine and let it idle.
– Set your multimeter to the DC voltage range and connect the probes to the battery terminals, just like in the previous step.
– Note the voltage displayed on the multimeter. At idle, the voltage should be around 13.8 to 14.4 volts.
– Rev the engine to around 2000 RPM and observe if the voltage increases. Ideally, it should rise to around 14.4 volts or slightly higher.
– If the voltage remains low or fluctuates significantly, it could indicate a problem with the alternator or voltage regulator.
5. Testing the Alternator:
If you suspect the alternator might be causing the charging system issues, you can perform a more detailed test specifically for the alternator. Here’s how:
– Start by inspecting the alternator belt for proper tension and signs of wear. Replace or adjust the belt if necessary.
– With the engine off, disconnect the negative terminal of the battery to avoid any electrical mishaps.
– Connect the multimeter’s positive probe to the positive terminal of the battery and the negative probe to the alternator’s output terminal (usually marked with a “+” symbol).
– Start the engine and let it idle.
– Read the voltage displayed on the multimeter. Ideally, it should be around 13.8 to 14.4 volts. Any significant deviation might indicate an issue with the alternator.
6. Testing the Voltage Regulator:
The voltage regulator plays a crucial role in regulating the electrical output of the alternator. If you suspect a problem with the voltage regulator, follow these steps:
– Start by inspecting the wiring and connectors leading to the voltage regulator for any damage or loose connections.
– With the engine off, disconnect the negative terminal of the battery.
– Locate the voltage regulator, which is usually integrated into the alternator or located separately nearby.
– Disconnect the wiring harness and any other connectors attached to the voltage regulator.
– Use a multimeter set to the resistance (ohms) range to test the voltage regulator. Follow the manufacturer’s instructions or consult a repair manual to determine the specific resistance values to look for.
– If the resistance values do not match the specifications, it’s likely that the voltage regulator is faulty and needs to be replaced.
7. Additional Considerations:
In some cases, testing the battery voltage, alternator, and voltage regulator may not provide a definitive answer to the charging system’s problem. Here are a few additional considerations to keep in mind:
– Check the battery’s electrolyte level: If your battery has removable caps, ensure the electrolyte level is above the plates. Add distilled water if necessary.
– Load testing the battery: A load test determines the battery’s ability to sustain a charge under load. This test can help identify if the battery itself is faulty.
– Seeking professional help: If you’re unsure about performing the tests or suspect a more complex issue, it’s best to consult a professional mechanic who can diagnose and repair the charging system accurately.
Conclusion:
Testing a car battery’s charging system is crucial for maintaining optimal performance and avoiding unexpected breakdowns. By following the steps outlined in this article, you’ll be able to diagnose potential issues with your car’s battery, alternator, and voltage regulator. Remember to prioritize safety and consult a professional if you encounter any difficulties or require further assistance.
HOW TO TEST THE CHARGING SYSTEM OF YOUR CAR
Frequently Asked Questions
How do I test a car battery’s charging system?
To test a car battery’s charging system, you can follow these steps:
What tools do I need to test a car battery’s charging system?
You’ll need a digital multimeter, safety goggles, insulated gloves, and a battery terminal cleaner to test a car battery’s charging system.
Can I test a car battery’s charging system without a multimeter?
No, a multimeter is essential for testing a car battery’s charging system. It helps measure the voltage and current flow accurately.
How do I check the battery voltage with a multimeter?
Set the multimeter to the DC voltage setting, connect the positive lead to the positive battery terminal, and the negative lead to the negative terminal. Read the voltage displayed on the multimeter.
What should the voltage reading be when the car is running?
When the car is running, the voltage reading should range between 13.7V and 14.7V. Anything significantly lower or higher than this range may indicate a potential problem with the charging system.
How do I test the alternator’s output with a multimeter?
Start the engine, set the multimeter to the DC voltage setting, and connect the positive lead to the positive battery terminal and the negative lead to the alternator’s B+ terminal. Check the voltage reading on the multimeter, which should be within the acceptable range specified by the manufacturer.
Final Thoughts
In conclusion, testing a car battery’s charging system is crucial to ensure its optimal performance. By following the steps mentioned above – checking the battery voltage, testing the alternator, and examining the battery terminals – you can assess the health of your car’s charging system. Regularly testing the charging system not only helps prevent unexpected breakdowns but also extends the lifespan of the battery. So, next time you suspect any issues with your car battery’s charging system, don’t hesitate to perform these simple tests and address any problems promptly. How to test a car battery’s charging system? Take the necessary steps and keep your car running smoothly.


