How to Test a Car Battery with a Voltmeter?
Curious to know how to test a car battery with a voltmeter? Well, worry no more! In this article, we’ll guide you through the simple process of checking your car battery’s voltage using a voltmeter. Understanding the health of your battery is essential, especially to prevent unexpected breakdowns. So, let’s dive right in and learn how to test a car battery with a voltmeter. Whether you’re a novice or an experienced car owner, this step-by-step guide will equip you with the knowledge to ensure your battery is in top-notch condition. Let’s get started!

How to Test a Car Battery with a Voltmeter?
Introduction
Testing a car battery regularly is essential to ensure its optimal performance and prevent unexpected breakdowns. One of the most reliable ways to test a car battery is by using a voltmeter. This versatile tool allows you to measure the voltage of the battery, providing valuable insights into its health and functionality.
In this comprehensive guide, we will take you through the step-by-step process of testing a car battery with a voltmeter. We will explain the significance of voltage readings, highlight the necessary precautions, and offer troubleshooting advice for common battery issues. By the end, you’ll be equipped with the knowledge to perform accurate battery tests and make informed decisions regarding your vehicle’s electrical system.
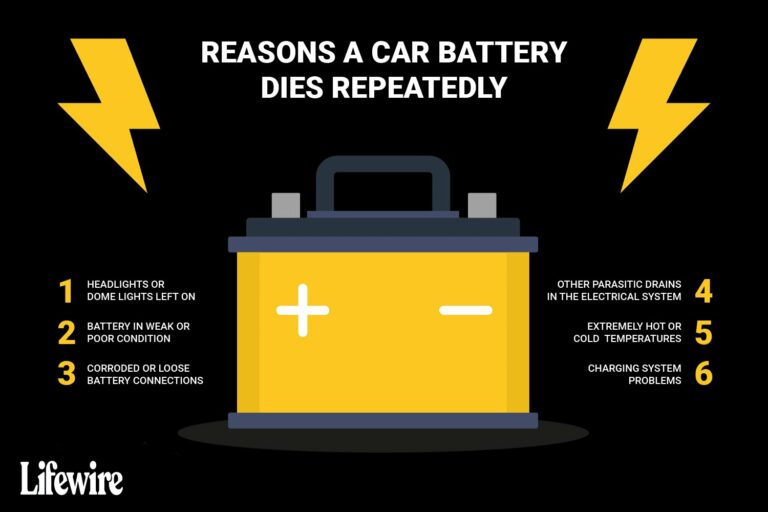
Why Test Your Car Battery?
Regularly testing your car battery is crucial for several reasons. Here are a few key benefits of conducting battery tests:
1. Prevent Unexpected Breakdowns: By monitoring your battery’s voltage regularly, you can identify potential issues before they cause your vehicle to break down unexpectedly.
2. Extend Battery Lifespan: Testing your battery’s voltage allows you to detect early signs of deterioration, enabling you to take proactive measures to extend its lifespan.
3. Avoid Electrical System Damage: A weak or faulty battery can cause strain on your vehicle’s electrical system, potentially leading to expensive repairs if left unresolved.
4. Save Money: By identifying battery issues early on, you can avoid unnecessary expenses on towing, emergency assistance, and replacement batteries.
What You’ll Need
Before we dive into the testing process, it’s important to gather the necessary tools and equipment. Here’s what you’ll need to test your car battery with a voltmeter:
1. Voltmeter: Choose a digital voltmeter with a voltage range suitable for automotive batteries, typically between 0-20 volts.
2. Safety Gear: Wear safety glasses and gloves to protect yourself from any potential hazards.
3. Battery Terminal Cleaner: If your battery terminals are corroded, use a battery terminal cleaner to remove any build-up for accurate testing.
Now that we have the essentials covered, let’s move on to the step-by-step process of testing your car battery using a voltmeter.
Step 1: Safety First
Before proceeding with any battery test, it’s crucial to prioritize safety. Here are a few precautions to keep in mind:
1. Park in a Well-Ventilated Area: Ensure that you’re working in a well-ventilated space to prevent the accumulation of potentially harmful gases emitted by the battery.
2. Turn Off the Engine and All Electrical Accessories: Before testing the battery, turn off the engine, headlights, radio, and any other electrical accessories to avoid interference during the test.
3. Wear Safety Gear: Put on safety glasses and gloves to protect yourself from any accidents or acid exposure.
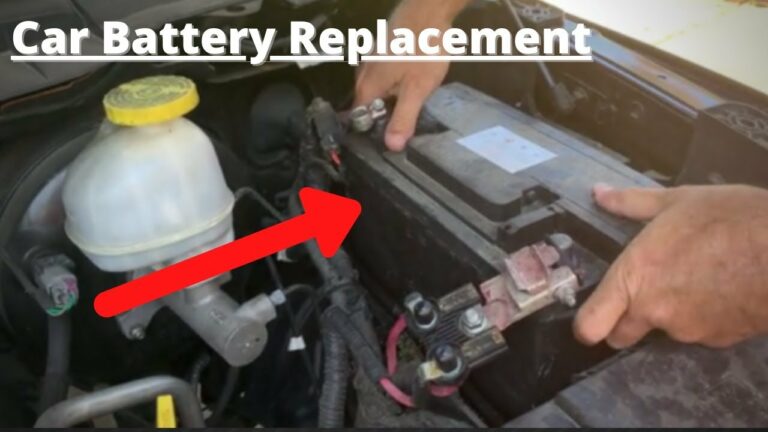
Step 2: Access the Battery
To begin the testing process, you’ll need to locate your car’s battery and gain access to it. The battery is typically located in the engine bay or trunk, depending on the vehicle’s make and model. Once you’ve located the battery, follow these steps:
1. Remove the Battery Cover (if applicable): Some vehicles have a plastic cover over the battery. If present, carefully remove the cover to expose the battery terminals.
2. Identify the Battery Terminals: The battery terminals are usually marked as positive (+) and negative (-). The positive terminal is typically red and may have a plus sign embossed on it, while the negative terminal is usually black and may have a minus sign embossed on it.
3. Inspect the Battery Cables: Ensure that the battery cables are securely connected to their respective terminals and free from any corrosion or damage. If you notice corrosion, clean the terminals using a battery terminal cleaner before proceeding.
Step 3: Voltmeter Setup
Now that you have accessed the battery, it’s time to set up your voltmeter for testing. Follow these steps:
1. Set the Voltmeter Range: Depending on your voltmeter, select the appropriate voltage range for automotive batteries, typically between 0-20 volts.
2. Turn on the Voltmeter: Power on your voltmeter and ensure that the display is functioning correctly.
3. Attach the Voltmeter Leads: Connect the voltmeter leads to the corresponding battery terminals. The positive lead (usually red) goes to the positive terminal, and the negative lead (usually black) goes to the negative terminal.
Step 4: Voltage Measurement
With the voltmeter properly set up, it’s time to measure the battery’s voltage. Follow these steps:
1. Observe Polarity: Ensure that the positive (+) voltmeter lead is connected to the positive (+) battery terminal and the negative (-) voltmeter lead is connected to the negative (-) battery terminal.
2. Read the Voltage: Look at the voltmeter display and note the voltage reading. A healthy battery should ideally display a voltage between 12.2 and 12.6 volts, indicating a sufficient charge.
3. Interpret the Voltage Reading: Depending on the reading, you can determine the condition of your battery. Here are some common voltage ranges and their implications:
– Above 12.6 volts: Indicates a fully charged battery.
– 12.4 to 12.6 volts: Indicates a battery with a good charge.
– 12.2 to 12.4 volts: Indicates a partially charged battery that may require charging.
– Below 12.2 volts: Indicates a discharged or weak battery that may need immediate charging or replacement.
Step 5: Troubleshooting Common Battery Issues
Testing your car battery with a voltmeter can also help troubleshoot common battery-related problems. Here are a few scenarios and their possible solutions based on the voltage readings:
1. Low Voltage Reading: If your battery voltage reading is consistently below 12.2 volts, it signifies a discharged or weak battery. The following steps can help troubleshoot this issue:
– Recharge the Battery: Connect your battery to a suitable charger to restore its charge.
– Check for Parasitic Drain: If the battery continues to drain, there may be a parasitic drain in your vehicle’s electrical system. Consult a professional mechanic for further diagnosis and repair.
2. Fluctuating Voltage Reading: If the voltmeter reading fluctuates significantly or drops rapidly during ignition, it may indicate an issue with the battery or charging system. Consider the following steps:
– Check Battery Connections: Ensure that the battery terminals are securely fastened and free from corrosion.
– Inspect the Alternator: A malfunctioning alternator can lead to irregular voltage readings. Consult a professional mechanic to diagnose and repair any alternator-related issues.
By following the step-by-step process outlined in this guide, you can effectively test your car battery using a voltmeter. Regular battery tests provide valuable insights into your battery’s health and enable you to take necessary actions to prevent unexpected breakdowns.
Remember, testing your car battery is just one aspect of battery maintenance. It’s essential to monitor other factors like battery age, electrolyte levels (if applicable), and overall vehicle maintenance to ensure a reliable and efficient electrical system.
Taking proactive measures to maintain your car battery’s health will not only save you from inconvenient breakdowns but also extend the lifespan of your battery, ultimately saving you time and money in the long run.
How to Test a Car Battery with a Multimeter
Frequently Asked Questions
What equipment do I need to test a car battery with a voltmeter?
To test a car battery with a voltmeter, you will need a digital voltmeter or multimeter. These tools can measure the voltage of the battery and determine its level of charge.
How do I connect the voltmeter to the car battery?
To connect the voltmeter, start by turning off your car’s engine and removing the keys from the ignition. Then, locate the battery and identify the positive and negative terminals. Connect the positive (red) probe of the voltmeter to the positive terminal of the battery and the negative (black) probe to the negative terminal.
What should the voltmeter display if the car battery is fully charged?
If the car battery is fully charged, the voltmeter should display a voltage reading of around 12.6 to 12.8 volts. This indicates that the battery has sufficient energy to start your car and operate the electrical components.
What voltage reading indicates a weak or discharged car battery?
A voltage reading below 12.4 volts usually indicates a weak or discharged car battery. This suggests that the battery may have difficulty starting your car or running the electrical systems effectively. It could be time to consider recharging or replacing the battery.
How long should I leave the voltmeter connected to the car battery?
You should leave the voltmeter connected to the car battery for at least 15-30 seconds. This allows the reading to stabilize and provides a more accurate representation of the battery’s voltage. However, if you notice any signs of electrical issues or inconsistency in the readings, consult a professional mechanic.
What do I do if the voltmeter reading indicates a problem with the car battery?
If the voltmeter reading indicates a problem with the car battery, such as a low voltage reading or significant fluctuations, it is recommended to have your battery tested by a professional. They can perform further diagnostic tests, assess the condition of the battery, and provide guidance on recharging or replacing it if necessary.
Final Thoughts
Testing a car battery with a voltmeter is a simple and effective way to ensure its condition. By connecting the voltmeter to the battery terminals, one can measure the voltage and determine if it falls within the recommended range. If the voltage is significantly lower, it may indicate a weak or faulty battery that needs attention. Regularly testing the car battery can help prevent unexpected breakdowns and ensure a reliable vehicle. So, next time you suspect battery issues, remember to use a voltmeter to test your car battery and keep it in optimal condition.