Step-By-Step Guide: How To Install A Car Battery Connection
Today we discuss How To Install A Car Battery Connection. Installing a car battery connection may seem like a daunting task, but fear not! In this article, we will walk you through the step-by-step process of how to install a car battery connection.
Whether you’re a beginner or a seasoned car enthusiast, this guide will help you tackle this task with confidence. So, let’s dive right in and learn how to install a car battery connection like a pro!

How to Install a Car Battery Connection?
Installing a car battery connection may seem like a daunting task, but with the right tools and knowledge, it can be a straightforward process. Whether you’re replacing an old battery or installing a new one, this step-by-step guide will walk you through the process of safely and correctly installing a car battery connection.
Gather the Necessary Tools and Safety Precautions
Before you begin, gather the following tools and take necessary safety precautions:
- Protective gloves and safety glasses
- A wrench or socket set
- Battery terminal cleaner or a wire brush
- Corrosion-resistant battery terminal spray
- A new battery (if replacing)
1. Park your Car in a Safe Location
Ensure your car is parked in a safe and well-ventilated area. Turn off the engine and engage the parking brake before proceeding.
2. Open the Hood and Locate the Battery
Pop the hood and prop it open securely. Locate the battery, typically located in the engine bay. If you’re unsure, consult your car’s manual for the exact location.
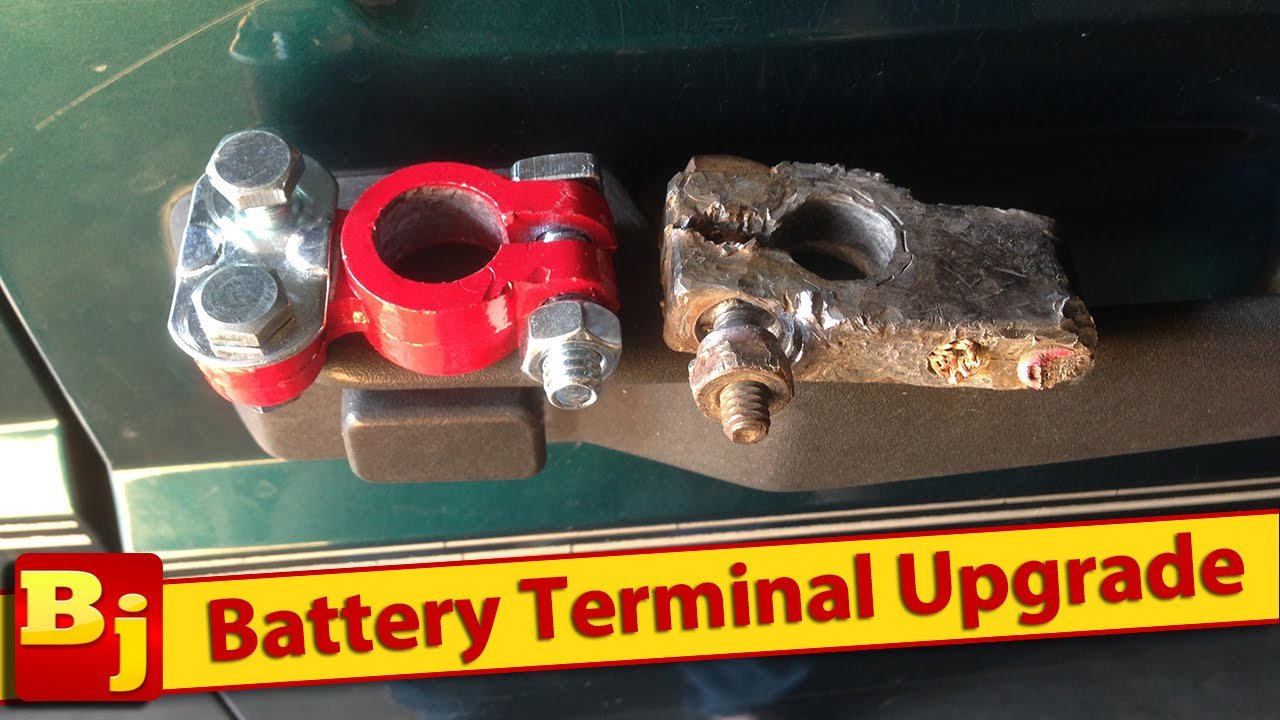
3. Identify the Positive and Negative Terminals
Identify the positive (+) and negative (-) terminals on the battery. The positive terminal is usually marked with a red cover or a “+” sign, while the negative terminal has a black cover or a “-” sign.
4. Remove the Negative Terminal
Using a wrench or socket, loosen and remove the nut securing the negative terminal cable. Once loose, carefully lift the cable off the negative terminal. Ensure that the cable doesn’t come into contact with any metal surfaces.
5. Remove the Positive Terminal
Repeat the same process for the positive terminal. Loosen and remove the nut securing the positive terminal cable, and then lift the cable off the positive terminal.
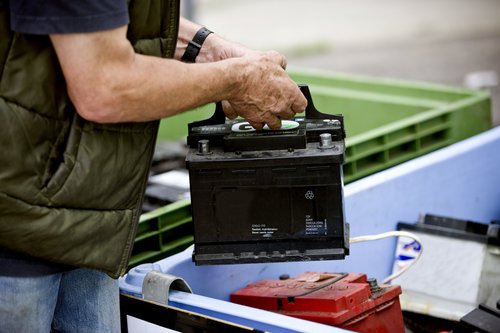
6. Remove the Old Battery (if replacing)
If you’re replacing the battery, carefully lift it out of its tray and set it aside. Be cautious not to tip the battery or spill any of its contents.
7. Clean the Battery Terminals
Inspect the battery terminals for any corrosion or dirt build-up. Using a battery terminal cleaner or a wire brush, scrub the terminals to remove any contaminants. This will ensure proper electrical contact.
8. Prepare the New Battery (if replacing)
If you’re installing a new battery, ensure it matches the specifications of your vehicle’s original battery. Clean the terminals on the new battery using a terminal cleaner or a wire brush.
9. Install the New Battery (if replacing)
Carefully place the new battery into the battery tray, ensuring it is secure and level. Connect the positive terminal first by placing the cable over the positive terminal and tightening the nut. Repeat the process for the negative terminal.
10. Reconnect the Battery Cables
Reattach the negative terminal cable by placing it over the negative terminal and tightening the nut securely. Repeat the process for the positive terminal.
11. Test the Battery Connection
Once you’ve reconnected the battery terminals, give them a gentle tug to ensure they are securely in place. Additionally, test the connection by turning on your car’s headlights or starting the engine to confirm that the battery is properly connected.
12. Clean the Battery and Terminals
Spray a corrosion-resistant battery terminal spray on the battery terminals and cable ends to prevent future corrosion. Avoid spraying any electronic components or belts.
13. Close the Hood
Once you’ve completed the above steps, close the hood of your car securely.
14. Properly Dispose of the Old Battery
If you’ve replaced an old battery, it’s essential to dispose of it properly. Check with your local recycling or waste management facility for instructions on how to dispose of automotive batteries safely.
Summary
Installing a car battery connection is a relatively simple process that requires basic tools and safety precautions. By following the steps outlined above, you can safely and correctly install or replace a car battery connection. Remember to take your time, follow the manufacturer’s instructions, and prioritize safety throughout the process.
How To: Install a Battery in Your Vehicle
Final Thoughts
Installing a car battery connection is a straightforward process that requires attention to detail and following a few simple steps. By first disconnecting the negative terminal, followed by the positive terminal, you can safely remove the old battery. Then, positioning the new battery in place and connecting the positive terminal before attaching the negative terminal ensures a secure connection. Remember to double-check all connections and tighten them properly to avoid any electrical issues. Following these steps will help you successfully install a car battery connection and ensure your vehicle operates smoothly.