How To Mount Car Accessories To Transmission Hump
Are you a car enthusiast looking to enhance the functionality and style of your vehicle? If so, you’ve come to the right place. In this guide, we will explore the art of mounting car accessories to the transmission hump, a crucial area that often goes unnoticed but holds great potential for customization. Whether you’re looking to install a phone mount, a cup holder, or any other accessory, we have you covered. So, buckle up and get ready to transform your driving experience with these expert tips and techniques.
The transmission hump is often an underutilized space in a car, but with a little know-how and the right tools, it can become a prime spot for mounting various accessories. From providing easy access to essential items to keeping your driving area organized, the possibilities are endless. This guide will take you step-by-step through the process, ensuring that you have all the knowledge and skills necessary to successfully mount car accessories to the transmission hump. So, whether you’re a seasoned DIYer or a beginner looking to embark on your first car modification project, read on and get ready to take your vehicle to the next level.
How to Mount Car Accessories to Transmission Hump:
- Identify the location on the transmission hump where you want to mount the accessory.
- Clean the area thoroughly to ensure a strong bond.
- Apply automotive-grade adhesive or use screws to secure the accessory to the transmission hump.
- Allow the adhesive to cure or tighten the screws securely.
- Test the accessory to ensure it is securely mounted.
Mounting Car Accessories to Transmission Hump: A Step-by-Step Guide
Mounting car accessories to the transmission hump can be a daunting task if you’re not familiar with the process. However, with the right tools and a little patience, you can easily install various accessories to enhance your driving experience. In this guide, we’ll walk you through the step-by-step process of mounting car accessories to the transmission hump, ensuring a secure and professional installation.
Step 1: Gather the Necessary Tools and Accessories
Before you begin, it’s important to gather all the tools and accessories you’ll need for the installation. This may include a screwdriver set, a drill, mounting brackets, adhesive tape, and the specific accessory you wish to install. Make sure to read the manufacturer’s instructions for any additional tools or parts that may be required.
Once you have everything ready, ensure that the transmission hump is clean and free from any debris or obstructions. This will provide a smooth and even surface for the installation.
Step 2: Determine the Mounting Location
The next step is to determine the optimal mounting location for your accessory on the transmission hump. This will depend on the type of accessory you’re installing and your personal preference. Take into consideration factors such as ease of access, visibility, and functionality.
Once you’ve decided on the location, use a measuring tape to mark the exact position on the transmission hump. This will serve as a guide during the installation process and ensure accurate placement.
Step 3: Prepare the Mounting Surface
Before attaching the accessory, it’s essential to prepare the mounting surface on the transmission hump. This can be done by cleaning the area with a mild detergent to remove any dirt or grease. Ensure that the surface is completely dry before proceeding.
If the accessory requires drilling, use a drill with the appropriate drill bit to create pilot holes at the marked positions. Be cautious not to damage any existing components or wiring beneath the transmission hump.
Step 4: Attach the Mounting Brackets
Now it’s time to attach the mounting brackets to the transmission hump. Follow the manufacturer’s instructions to ensure proper alignment and secure attachment. Use screws or other fasteners provided to firmly fix the brackets in place.
Double-check that the brackets are securely attached and can support the weight of the accessory. It’s important to ensure stability to prevent any potential hazards while driving.
Step 5: Install the Car Accessory
With the mounting brackets in place, it’s time to install the car accessory itself. Depending on the type of accessory, you may need to follow specific instructions provided by the manufacturer. This may involve attaching the accessory to the brackets using screws, clips, or adhesive tape.
Take your time to ensure proper alignment and a secure fit. Test the accessory to ensure it functions correctly and doesn’t interfere with any other components in your car.
Step 6: Finalize the Installation
Once the car accessory is securely mounted to the transmission hump, take a moment to inspect the installation. Check for any loose fasteners or signs of instability. Tighten any screws or bolts as necessary to ensure everything is secure.
Finally, clean the area around the accessory and remove any leftover debris or packaging materials. This will give your installation a professional and polished appearance.
Step 7: Enjoy Your Newly Mounted Car Accessory
With the car accessory successfully mounted to the transmission hump, you’re now ready to enjoy the added functionality and convenience it provides. Whether it’s a cup holder, a phone mount, or any other accessory, take pride in your work and enjoy the improved driving experience.
Remember, always refer to the manufacturer’s instructions and exercise caution when working with any electrical or mechanical components in your car. If you’re unsure about any step of the installation process, it’s best to consult a professional.
Frequently Asked Questions
Here are some common questions about how to mount car accessories to the transmission hump:
Q: What is the transmission hump in a car?
The transmission hump, also known as the transmission tunnel, is the raised area in the middle of the vehicle’s floorboard that houses the transmission and drivetrain components. It is typically found in rear-wheel drive and all-wheel drive vehicles.
When mounting car accessories, it is important to be aware of the transmission hump’s location and structure to ensure proper installation and avoid interfering with the vehicle’s functionality.
Q: What types of car accessories can be mounted to the transmission hump?
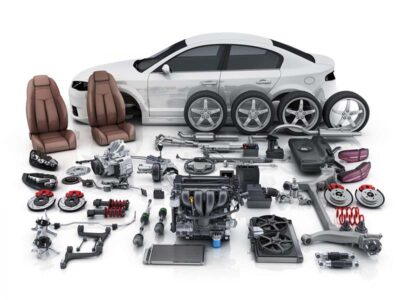
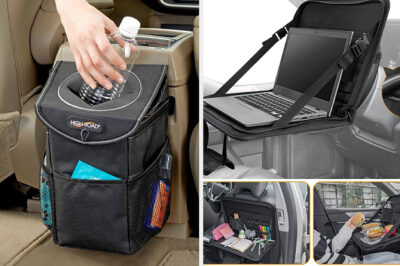
Various car accessories can be mounted to the transmission hump, depending on the vehicle and personal preferences. Common examples include phone mounts, cup holders, storage compartments, auxiliary power outlets, and aftermarket control panels.
Before mounting any accessories, it is essential to consider the size, weight, and compatibility with the transmission hump to ensure a secure and stable installation.
Q: How do I mount car accessories to the transmission hump?
Mounting car accessories to the transmission hump typically involves using brackets or adhesive mounts specifically designed for this purpose. These mounting solutions can be attached directly to the transmission hump’s surface or to the surrounding interior panels.
It is essential to follow the manufacturer’s instructions and guidelines when installing car accessories to the transmission hump to ensure a proper fit and avoid any damage to the vehicle’s interior.
Q: Can I mount car accessories to the transmission hump myself, or should I seek professional help?
While it is possible to mount car accessories to the transmission hump yourself, it is recommended to seek professional help, especially if you are not familiar with automotive modifications or lack the necessary tools. Professional installers have the expertise and knowledge to ensure a safe and reliable installation.
If you choose to install car accessories yourself, make sure to research and gather all the necessary information and tools to complete the job correctly and safely.
Q: Are there any precautions I should take when mounting car accessories to the transmission hump?
Yes, there are a few precautions to consider when mounting car accessories to the transmission hump. Firstly, ensure that the accessory does not obstruct the gear shifter or any other controls in the vehicle.
Additionally, be mindful of the weight and size of the accessory to prevent excessive strain or stress on the transmission hump. It is also crucial to avoid damaging any wiring or components located within the transmission hump while installing the accessories.
When in doubt, consult the accessory manufacturer or seek professional advice to ensure a proper and safe installation.
In conclusion, mounting car accessories to the transmission hump can be a challenging task, but with the right tools and knowledge, it can be accomplished successfully. By following the step-by-step guide provided in this article, car owners can ensure a secure and reliable installation of their desired accessories.
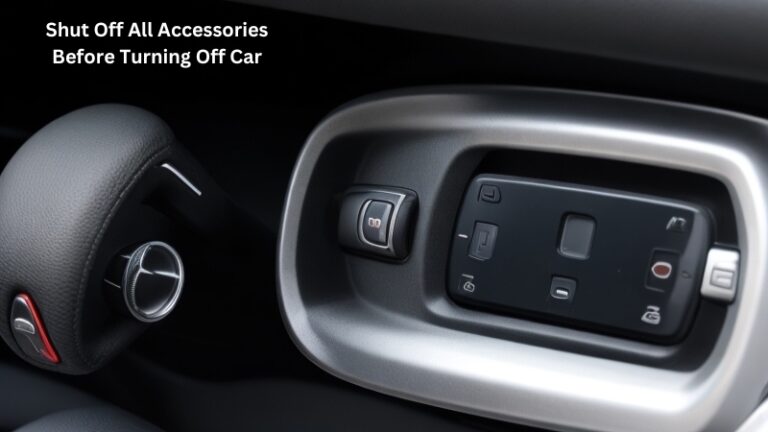
Remember, safety should always be the top priority when working with car accessories. Double-check that the vehicle is turned off and the transmission hump is clear of any obstructions before beginning the installation process. Additionally, do thorough research on the specific accessory you are planning to mount to ensure compatibility with your vehicle’s make and model.
With patience and attention to detail, you can effortlessly enhance your driving experience by customizing your car with accessories mounted to the transmission hump. So, don’t hesitate to embark on this exciting DIY journey and enjoy the benefits of a personalized and functional car interior.