Test Car Battery Cranking Amps With Digital Load Tester: A Step-By-Step Guide
If you’ve ever wondered how to test a car battery’s cranking amps with a digital battery load tester, you’ve come to the right place. Testing the cranking amps of a car battery is essential to ensure its performance and longevity. In this article, we’ll walk you through the step-by-step process of using a digital battery load tester to accurately measure the cranking amps of your car battery. No need to worry, it’s easier than you might think! So let’s dive in and learn how to test a car battery’s cranking amps with a digital battery load tester.

How to Test a Car Battery’s Cranking Amps with a Digital Battery Load Tester?
Testing a car battery’s cranking amps with a digital battery load tester is a crucial step in ensuring the health and performance of your vehicle’s battery. Cranking amps represent the battery’s ability to deliver power to the starter motor, which is essential for starting the engine. A digital battery load tester provides accurate readings and helps determine whether the battery needs to be replaced or if it still has enough power to perform effectively.
In this comprehensive guide, we will walk you through the process of testing a car battery’s cranking amps using a digital battery load tester. We’ll cover everything you need to know, from understanding the importance of cranking amps to step-by-step instructions on how to perform the test. So, let’s dive in and equip you with the knowledge to effectively assess your car battery’s health.
The Importance of Cranking Amps in a Car Battery
Before we delve into the testing process, it’s essential to understand the significance of cranking amps in a car battery. Cranking amps, also known as CCA (Cold Cranking Amps), measure the battery’s ability to deliver power at low temperatures. It indicates the battery’s ability to start the engine in cold weather conditions when the engine oil is thicker, making it harder to turn over.
When the weather gets colder, the chemical reactions in the battery slow down, reducing the battery’s overall capacity. A higher cranking amp rating ensures that your battery can still provide enough power to start the engine even under these challenging conditions. Hence, monitoring the cranking amps is crucial to ensure your battery is up to the task, particularly in colder climates.
Step-by-Step Guide: Testing Cranking Amps with a Digital Battery Load Tester
Now that you understand the importance of cranking amps let’s explore how to test them using a digital battery load tester. Follow the step-by-step guide below to accurately assess your car battery’s health and cranking amp capacity.
Step 1: Gather the Necessary Tools
Before you begin the testing process, gather all the tools required for the task. Here’s a checklist of items you will need:
- A digital battery load tester
- Gloves and safety glasses for personal protection
- A battery terminal cleaner or wire brush
- A wrench or pliers to loosen battery terminals
Having these tools readily available will ensure a smooth testing process and your safety during the procedure.
Step 2: Safety Precautions
It’s crucial to take safety precautions when working with car batteries. Follow these safety guidelines before proceeding with the testing:
- Wear gloves and safety glasses to protect against acid and other hazards
- Make sure the car’s ignition is turned off and the keys are removed from the ignition
- Keep any flammable materials away from the battery as it may produce sparks during the testing process
By adhering to these safety precautions, you minimize the risk of accidents or injuries while working on your car battery.
Step 3: Locate the Battery
The next step involves locating the battery in your vehicle. In most cars, the battery is housed under the hood, but it can also be located in the trunk or under a seat. Refer to your vehicle’s manual if you’re unsure about the exact location.
Once you locate the battery, visually inspect it for any signs of damage or corrosion. If you notice any leaks, cracks, or excessive corrosion, it may be necessary to replace the battery before proceeding with the test.
Step 4: Clean the Battery Terminals
Clean battery terminals ensure proper contact and accurate test results. Use a battery terminal cleaner or a wire brush to clean the terminals and remove any corrosion or gunk that may hinder the testing process. Ensure that both the positive (+) and negative (-) terminals are clean and free from debris.
Step 5: Familiarize Yourself with the Digital Battery Load Tester
Before connecting the load tester to the battery, it’s essential to understand the functions and features of the device. Familiarize yourself with the load tester’s user manual to ensure you know how to operate it correctly. This will help you avoid any errors during the testing process and ensure accurate readings.
Step 6: Connect the Load Tester
Now it’s time to connect the load tester to the battery. Follow these steps:
- Identify the positive and negative terminals on your car battery. The positive terminal is usually marked with a (+) sign, while the negative terminal is marked with a (-) sign.
- Connect the positive wire from the load tester to the positive terminal of the battery.
- Connect the negative wire from the load tester to the negative terminal of the battery.
Ensure that the connections are secure and tight to prevent any accidental disconnections during the test.
Step 7: Set the Load Tester
Configure the load tester according to the instructions provided in the user manual. Set it to the appropriate settings for testing cranking amps. The load tester should have different options for various battery types and sizes. Choose the correct setting to obtain accurate results.
Step 8: Run the Test
With the load tester connected and set, it’s time to run the test. Follow these steps:
- Turn on the load tester and wait for it to initialize.
- Follow the instructions provided by the load tester to initiate the test. This may involve selecting the cranking amp test mode, entering the battery specifications, or following any other specific instructions provided by the manufacturer.
- Once the test is initiated, the load tester will apply a load to the battery and measure how well it performs.
- Observe the readings on the load tester’s display. It should provide you with the cranking amp value once the test is complete.
Step 9: Interpret the Results
After the test is complete, interpret the results displayed on the load tester. The reading should indicate the cranking amp value of your car battery. Compare the obtained value with the recommended cranking amp rating for your vehicle.
If the measured cranking amp value falls within the recommended range, it indicates that your battery is in good health and can provide sufficient power to start the engine. However, if the reading is significantly lower than the recommended value, it may be time to replace your battery.
Maintaining a Healthy Car Battery
Testing cranking amps with a digital battery load tester is a valuable tool for evaluating your car battery’s health. However, prevention is always better than cure. Here are a few tips to help maintain a healthy car battery:
- Regularly inspect the battery for signs of damage, corrosion, or leaks.
- Keep the battery terminals clean and free from debris or corrosion.
- Avoid leaving your car’s lights or accessories on for extended periods when the engine is not running.
- Ensure that all electrical components are turned off before exiting the vehicle.
- Consider using a battery maintainer or trickle charger when the vehicle is not in use for prolonged periods.
By following these maintenance practices, you can extend your car battery’s lifespan and reduce the risk of sudden failures.
Testing a car battery’s cranking amps with a digital battery load tester is a simple yet crucial process to ensure the health and performance of your vehicle’s battery. By following the step-by-step guide provided in this article, you can accurately measure the cranking amps and make informed decisions regarding your battery’s condition.
Remember, regularly testing your car battery and maintaining it properly is key to avoiding unexpected breakdowns and ensuring your vehicle starts reliably. Stay proactive and keep an eye on your battery’s cranking amps, especially during colder months, to guarantee a smooth and uninterrupted driving experience.
Frequently Asked Questions
How do I test a car battery’s cranking amps with a digital battery load tester?
To test a car battery’s cranking amps using a digital battery load tester, follow these steps:
What is a digital battery load tester?
A digital battery load tester is a device specifically designed to assess the cranking amps and overall health of a car battery. It measures the battery’s ability to deliver a high amount of current for starting the engine.
Can any digital battery load tester be used to test cranking amps?
Not all digital battery load testers can measure cranking amps. It is important to ensure that the tester you are using has the capability to measure this specific parameter. Check the specifications or user manual of the tester to confirm.
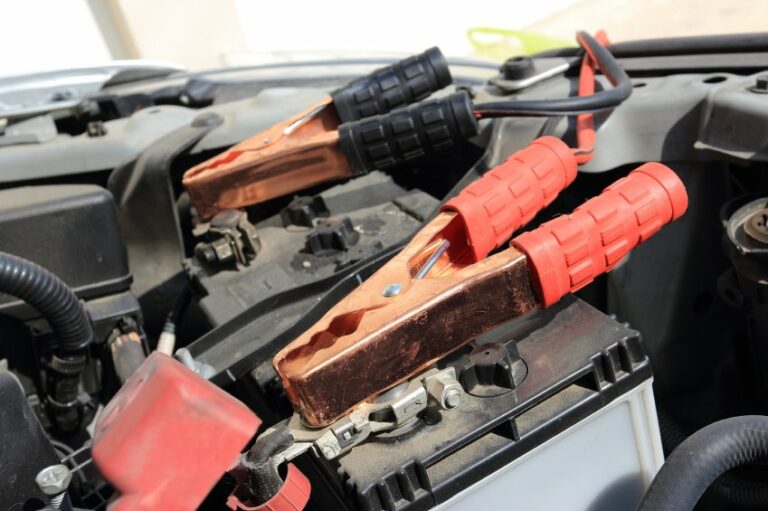
Where do I connect the digital battery load tester to the car battery?
The load tester is connected to the car battery’s positive and negative terminals. The red clamp should be connected to the positive terminal, while the black clamp is connected to the negative terminal.
What should I do before conducting the cranking amps test?
Prior to testing the cranking amps, make sure all electrical accessories in the car are turned off. Additionally, wear appropriate safety gear, such as gloves and goggles, and ensure a stable and safe working environment.
How long should I continue cranking the engine during the test?
The engine should be cranked for a short duration, typically for around 10 seconds. This gives the load tester enough time to measure the cranking amps accurately. Avoid extended cranking as it can overheat the starter motor and drain the battery.
What cranking amp range should I look for when testing?
The cranking amp range may vary depending on the specific vehicle make and model. Refer to the car’s manual or contact the manufacturer for the recommended cranking amp range. As a general guideline, most cars require a minimum cranking amp of around 400-600 amps.
Final Thoughts
In conclusion, testing a car battery’s cranking amps with a digital battery load tester is essential for determining its overall health and performance. By following the steps outlined in this article, car owners can easily assess the battery’s ability to deliver the required power for starting the engine. Using a digital battery load tester provides accurate and reliable readings, allowing for timely maintenance or replacement if necessary. Regularly testing the cranking amps is a proactive approach to ensuring a reliable and efficient car battery for optimal performance.